Packing is a task that can range in size from small to large, but it can be quite frustrating with any job size. Even if the job seems simple, you can always count on tricky wrenches to be thrown into the process. Some items just require more attention than you might think.
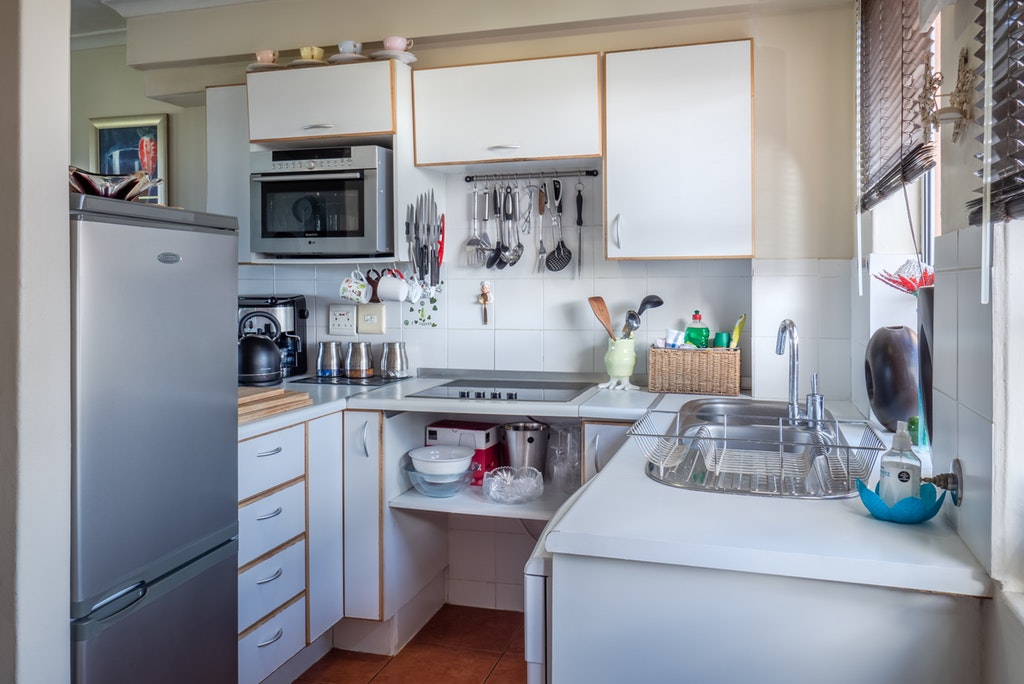
Anyone who has ever moved knows how daunting the task of packing can be. One of the more challenging rooms to pack is the kitchen because of the sheer number of items and appliances you use every day. Packing KitchenAids and any other small appliances requires a bit of dedication and the right tools to get started.
Following these tips from professional movers (see info here) is a sure way to make the packing and unpacking processes much easier when it comes to those awkward appliances. You can always rest easy once the small appliances are done, before moving onto the large appliances.
1. Plan ahead and create a workspace.
No matter the scale of the home you’re packing, it can be very helpful to start by creating a packing station. This station should include a work table for wrapping, where you can keep your boxes, tape, padding, and other packing materials handy. Deciding the order in which to pack groups of items is also a very helpful early step to take.
Many appliances won’t be needed shortly before the move, or shortly after; for example, many movers will choose to pack items such as a KitchenAid mixer or a blender early, believing in a low probability of needing it for a longer timeframe.
2. Gather and disassemble appliances.
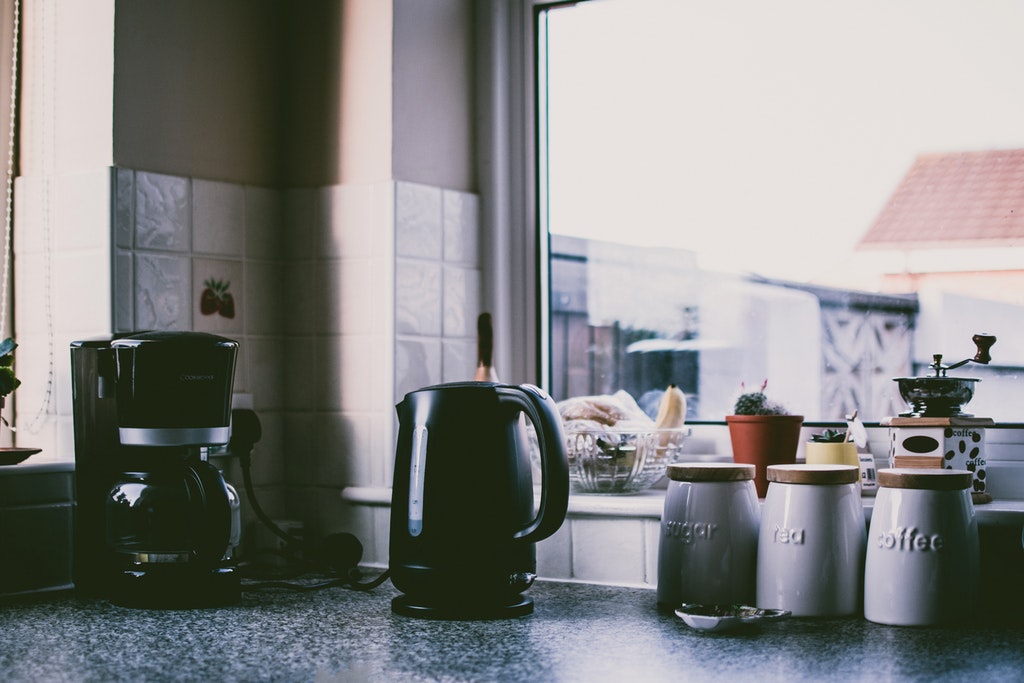
Using your workstation as a “home base,” gather your cleaned and disassembled small appliances from the kitchen. Once you have all of your appliances in one place, you will begin to get a better idea of how they can be temporarily wrapped up and stored. Consider which small pieces go with which appliance, using a labeling system. Also, keep in mind that some of these smaller parts are more fragile than others, and may require extra care.
As any professional mover will tell you, organization is always key to packing. As mentioned above, some appliances will be packed early and unpacked late, leaving a gap of time in between actually laying eyes on these items. It is very handy to coordinate your packing with your unpacking, by keeping assembly instructions with the appliance, and by removing small pieces, but keeping them together. In addition, if you happen to still have the original box that one appliance came in, consider using it for packing, as well.
3. Wrap items individually.
Microwave trays, blender lids, and even coffee filter trays are all examples of removable parts that can be damaged during a move. Using brown packing paper or even old newspapers, wrap each item individually before packing it into a box.
Keep similar items together. For example, packing your utensils in different boxes will lead to headaches later when you get to your new home. If you keep things stored in the same cabinets or drawers packed in one box, you will have a much easier time navigating your kitchen appliances and where they should go in your new space.
Again, it is best to label which parts go with which appliance for future reference. Then, wrap the appliance itself, and pack all items into appropriate boxes.
4. Use plenty of padding and tape.
When you reach your new home, unpacking your loved items and placing them around the house can be a very exciting time. There is nothing more disappointing than arriving to realize that a box has torn open during the move, or worse, that the contents inside have crashed together.
When packing appliances and their small parts, be sure that the boxes are filled to the brim with packing peanuts, tape, or whatever padding you have on hand (pro tip: soft items such as socks and pillowcases work as great padding, and then will take up less space elsewhere). Also, be sure to use plenty of tapes to seal the boxes shut.
When packing many items into larger boxes, make sure to pack the more durable items at the bottom, such as pots and pans, reserving space for more fragile items like glass plates and cups at the top. Be sure to label the box with which side should be facing up, so no one accidentally drops the box upside down on any fragile appliances.
Even if using the box it came in, the original assembly is not guaranteed to hold up for a second-time use, and adding extra tape to the bottom can be a lifesaver.

Conclusion
In the long run, the key to packing is organization. Giving yourself plenty of time for proper wrapping, boxing, and labeling may be a bit more time-consuming initially; however, it will make the process of unpacking a fun and easy one to accomplish. If you keep organized and give yourself enough time to pace yourself, packing your kitchen doesn’t need to be a hassle.